まず、DB ヴァーチャルホストhttpd-vhosts.conf、httpd-ssl.confをコピー保存 バックアップ
新MAMP をDL インストール カスタム MAMP のみ
新しく、MAMPがインストされ、今までのが、MAMP_日付とされる
新しい、MAMPをまず起動してみる。
きどうできればOK
設定で ポート設定 80 & 3306を使用しよう
劇ハマりしたのはここ
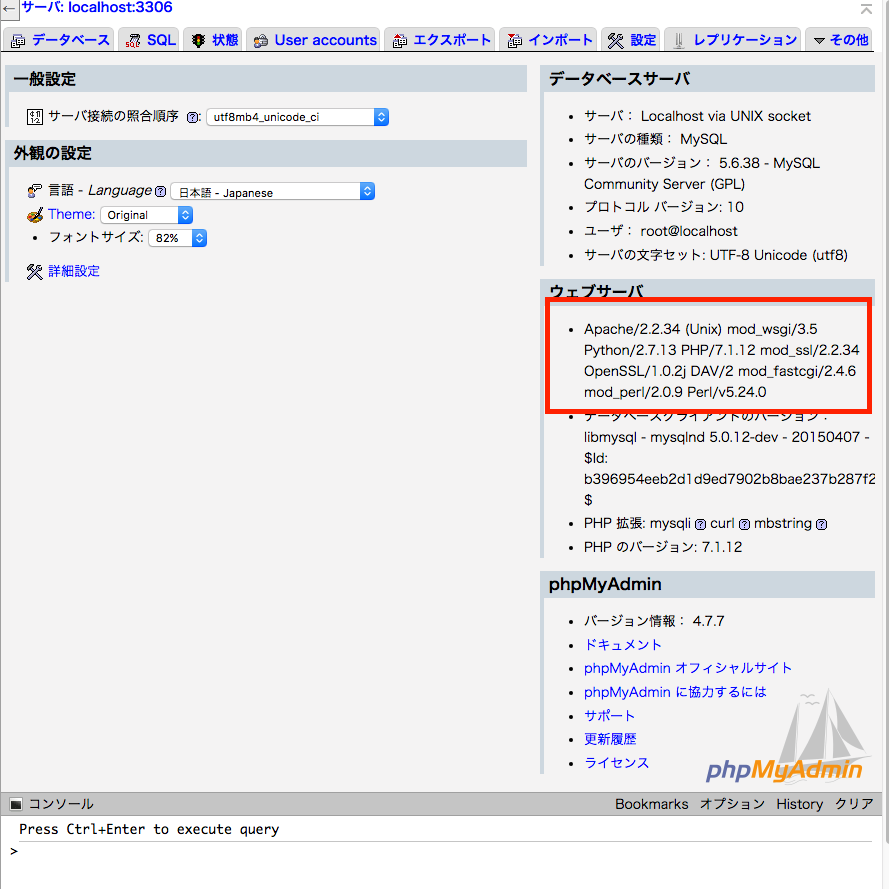
phpのバージョン設定 最新の7.2.1になっておると
ローカルでワードプレスのサイトが起動・表示しない、バグってしまうなど色々な状態
これを7.1.12 に変更したら動いた。
その前の段階の手順
/Applications/MAMP/conf/apache
のhttpd.conf
のhttpd-vhosts.conf
httpd-ssl.confのコメントアウトをやめる
httpd-ssl.conf
httpd-vhosts.conf
を過去のものから持ってくる。 正しいのを!
これも間違えて、パスがとうらないものでやったらMAMPが起動しなかった
またssl.confの暗号鍵なのパス記述通りにファイルがないといけないので
apacheに
server.crt
server.csr
server.key
をコピペ
これはhttpsでアクセスできるようにするの回で、制作したやつ。
TOPぺーじしか表示されない
https://qiita.com/musica_gatto/items/5dc8d8c8a57b261488c2
AllowOverride All ←”none”を”All”に変更
データベース大きいとアップできないので
>>>
「php5.6.2」のフォルダは、先ほど調べたphpのバージョンに合わせて選ぶ形になります。続いてconfフォルダ内にある「php.ini」を開きます。
そこで、
post_max_size
upload_max_filesize
memory_limit
の項目のサイズを目的のサイズに変更していきます。上記のサイズは「post_max_size < upload_max_filesize < memory_limit」とする必要があります。 設定が完了したら、Apacheを再起動すれば完了です。 >>>
MAMPのphpMyAdminでインポートするファイル上限をアップする方法
新しいワードプレスはこれでいけたっぽいが
バージョンが古い 3.8とかのものだと
php7だと
お使いのサーバーの PHP では WordPress に必要な MySQL 拡張を利用できないようです。
と出て、
phpのバージョンを5.632に戻すと
表示された。
しかし、やはり7の方が速度が早いようだ。
データベースのバージョンアップを促すような表示がいくつか出てが
ツール → アップデート mysql database
実際なにもせずに、古いデータベースをそのままでいけた。
デバッグした結果
mysqlが 5.5 から 5.6になったから その問題があるのか?
と思って心配して混乱したが
実際はphpのバージョン httpd.confの問題だッかもしれない
このまま問題なくいければ
念のため 新MAMP と 過去MAMPのDPをわけて SSD960に保存 後 各シンボリックリンクで保存
今後の問題
・pro を導入するか?
デメリット
hosterが使えない また ホストの切り替えがスムーズでない
SSLを簡単にできそうだが 結局 キーチェンアクセスに毎回登録しないと 警告がでる
これはオレオレ認証局が鍵を握っているがよくわからない
メリット
ホスターなし、バーチャルホスト直いじらなくともローカル設定ができる//ただホストの切り替えが悪い//また毎回MAMPを再起動
キーチェンアクセスに毎回登録すれば一応ローカルでも保護された通信となる//ただホストの切り替えが悪いため、切り替わったかわかりずらいので 保護された通信でなくともよいかも
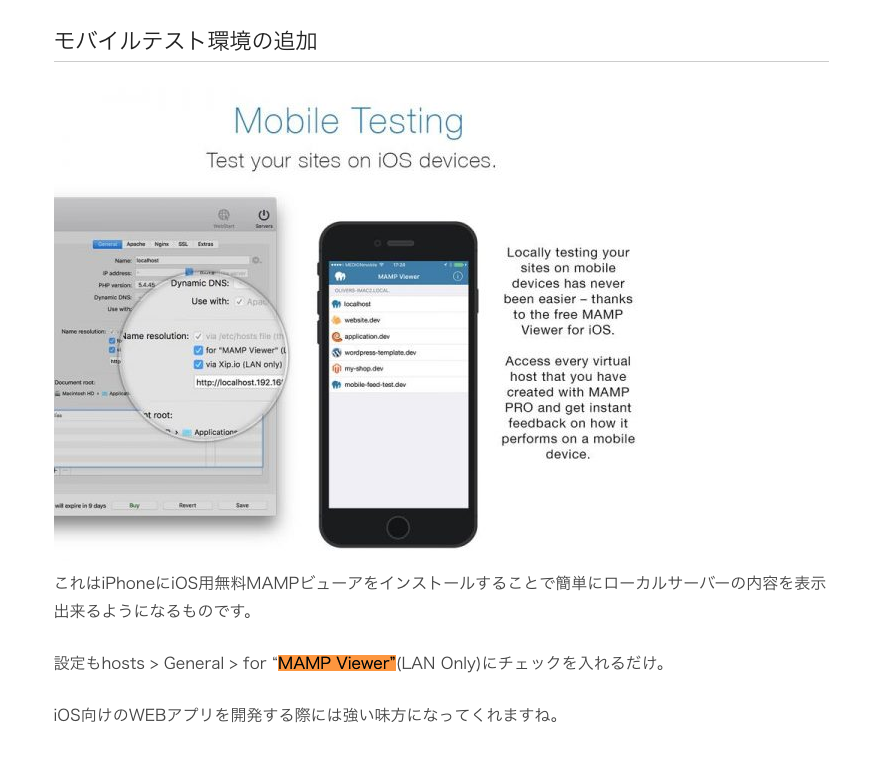
無線ラン内でスマホでもローカルにアクセスできるらしい//これはよいね アップしなくとも確認できるのは
サイトによってphpのバージョンが切り替えれる
いままで通り
httpd-vhosts.conf でサイトの追加をするくらいは 特に問題ない 80 も 443も
・ローカルSSLどうするか
結局1回のみの警告なら受け入れれるが 毎回や作業中にでなければよい
保護された通信となった場合 ローカルか サイトか わかりにくい
毎回自己証明をキーチェンに登録するには面倒
毎回ターミナルで認証を発行するのは面倒
ホストの切り替えが遅い件
現状でも同じだったようで多分SSLのせいで切り替えが遅くなっている模様
さて、MAMPのバージョンアップはできたと言っても良い
新しい MAMP
古い MAMPを両方使おうとするならば
MAMP2とする方の
httpd.confに書いてあるパスを
app/mamp2/と変更しないと
MAMP2の方でも MAMP フォルダの ファイルを使用することになるので注意
DBに関してはどうだ?
これはパスがどおとおているかわからない。
起動したフォルダ内のDBがつかかれるのか
app/mamp/とどこかでぱすがとおっているのか?
ためしにやってみたら、起動しなかったので
やはり/MAMP/とパスが通ってそう。
なので両方使いたいなら 毎回 アプリのファイル名の付け替え
MAMP
MAMP_2
を繰り返すことだね!
そうすればhttpd.confに書いてあるパスを
app/mamp2/と変更しなくてもとい
そしてPROを検証してみた。
結局ホストの切り替えが遅いのはsslのせいだと思う。
(未検証)
pro のホストには ::1 みたいなv6 なんとかとかのコードもささってて
よさげ
Macの/etc/hostsに記述したローカル用サブドメインへのアクセスが遅い
PROの設定ファイルは
httpd.conf
/Library/Application Support/appsolute/MAMP PRO/conf
にあった
あと
/Users/doggstar/Library/Application Support/appsolute/MAMP PRO/
にも
DBは
/Library/Application Support/appsolute/MAMP PRO
内にあるのが使われる なので、シンボリックリンクでMAMPと共有もできるし
テストでは別にした。コピーしてシンボリックした。
また
/Library/Application Support/appsolute/MAMP PRO/conf
には

このようにファイルが入っているが
これを直接エディタでいじくっても、Proを起動させると、前回の内容にもどってしまう。
これには
/Users/doggstar/Library/Application Support/appsolute/MAMP PRO/
の

temp のファイルが関わってると思って 試しに消してみて再起動してみたら
エディタで変えたものそのままでなく、どこからともなく現れた
最初のProの初期設定に書き換わっていた。
なのでProは直接ファイルをいじるのではなく、Proのエディタから修正しなければならない。
また大きな問題がひとつ
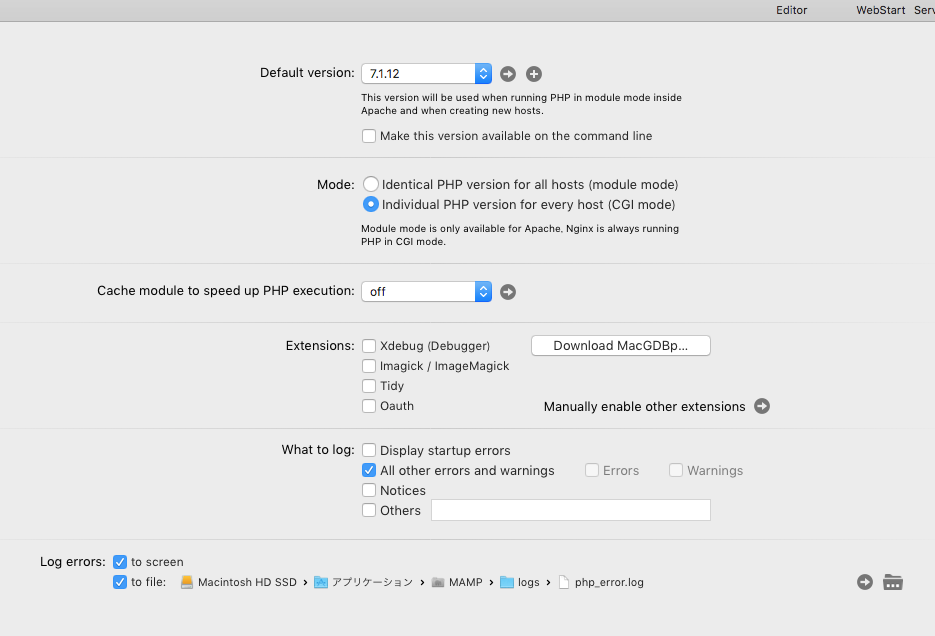
Proのメリット がサイトによってPHPを変更できる点であるが
そのモードにすると
PHP MY ADMIN で32MBのファイルをインポートしようとすると
30秒以上でタイムアウトし、Internal Server Errorが出てしまう。
しかし、そのくせ、インポートは続いているようで、終わるまで戻る操作ができずに、インポートが終わると戻れて、実際インポートできているようだった。
この30秒のタイムアウトだけなんとかしたいと色々調べると
デバッグすると
module mode だと普通に読み込めることがわかったので
CGI mode の phpが問題だということまでわかったが
どこの設定をいじっても30秒でInternal Server Errorが出てしまう。
max_execution_time
[PHP] PHPスクリプトのタイムアウトを調整する
htaccess
【コピペ用】PHPのアップロード容量を変更する.htaccess、php.iniの記述サンプル
などで色々うやったり
MAMPの構造を色々チェックして
phpini とかTIME 30 とかのところを色々探していじったが
どの設定がきいているのか
どこにファイルをさしこめば上書きできるかわからなかって
諦めた。
結果
PROを使いたい気持ちが大きくなったが
結局各PHPのバージョン切り替えは行わないか
大きなファイルの時のみ無料版を起動させ
インポートするとか
この場合はDBはシンボリックで同じファイルにしないかん
また
旧サイトをすべてPROに入れるのがめんどい場合
無料版を生かしておき、
過去のサイトの場合は無料版で起動という手もある
しかし、proをつかっていると
private host ファイルがアクセス権がいじられるのでホスターで書き換えできなくなるため
パーミッションをeveryone 読み書きに変えて起動しなければならない一手間もあり。
試しにProで
mode を切り替えると
phpのバージョンが全部一括で変更され、
元に戻しても、治らなかったので、一回もどーを変えてインポートするのは現実的ではない。そもそも古いバージョンの需要性はあまりないが。?
あと
CGI版の時 phpmyadimin のアパーチが表示がちょがうのに気づいたが何かのヒントになるか?